
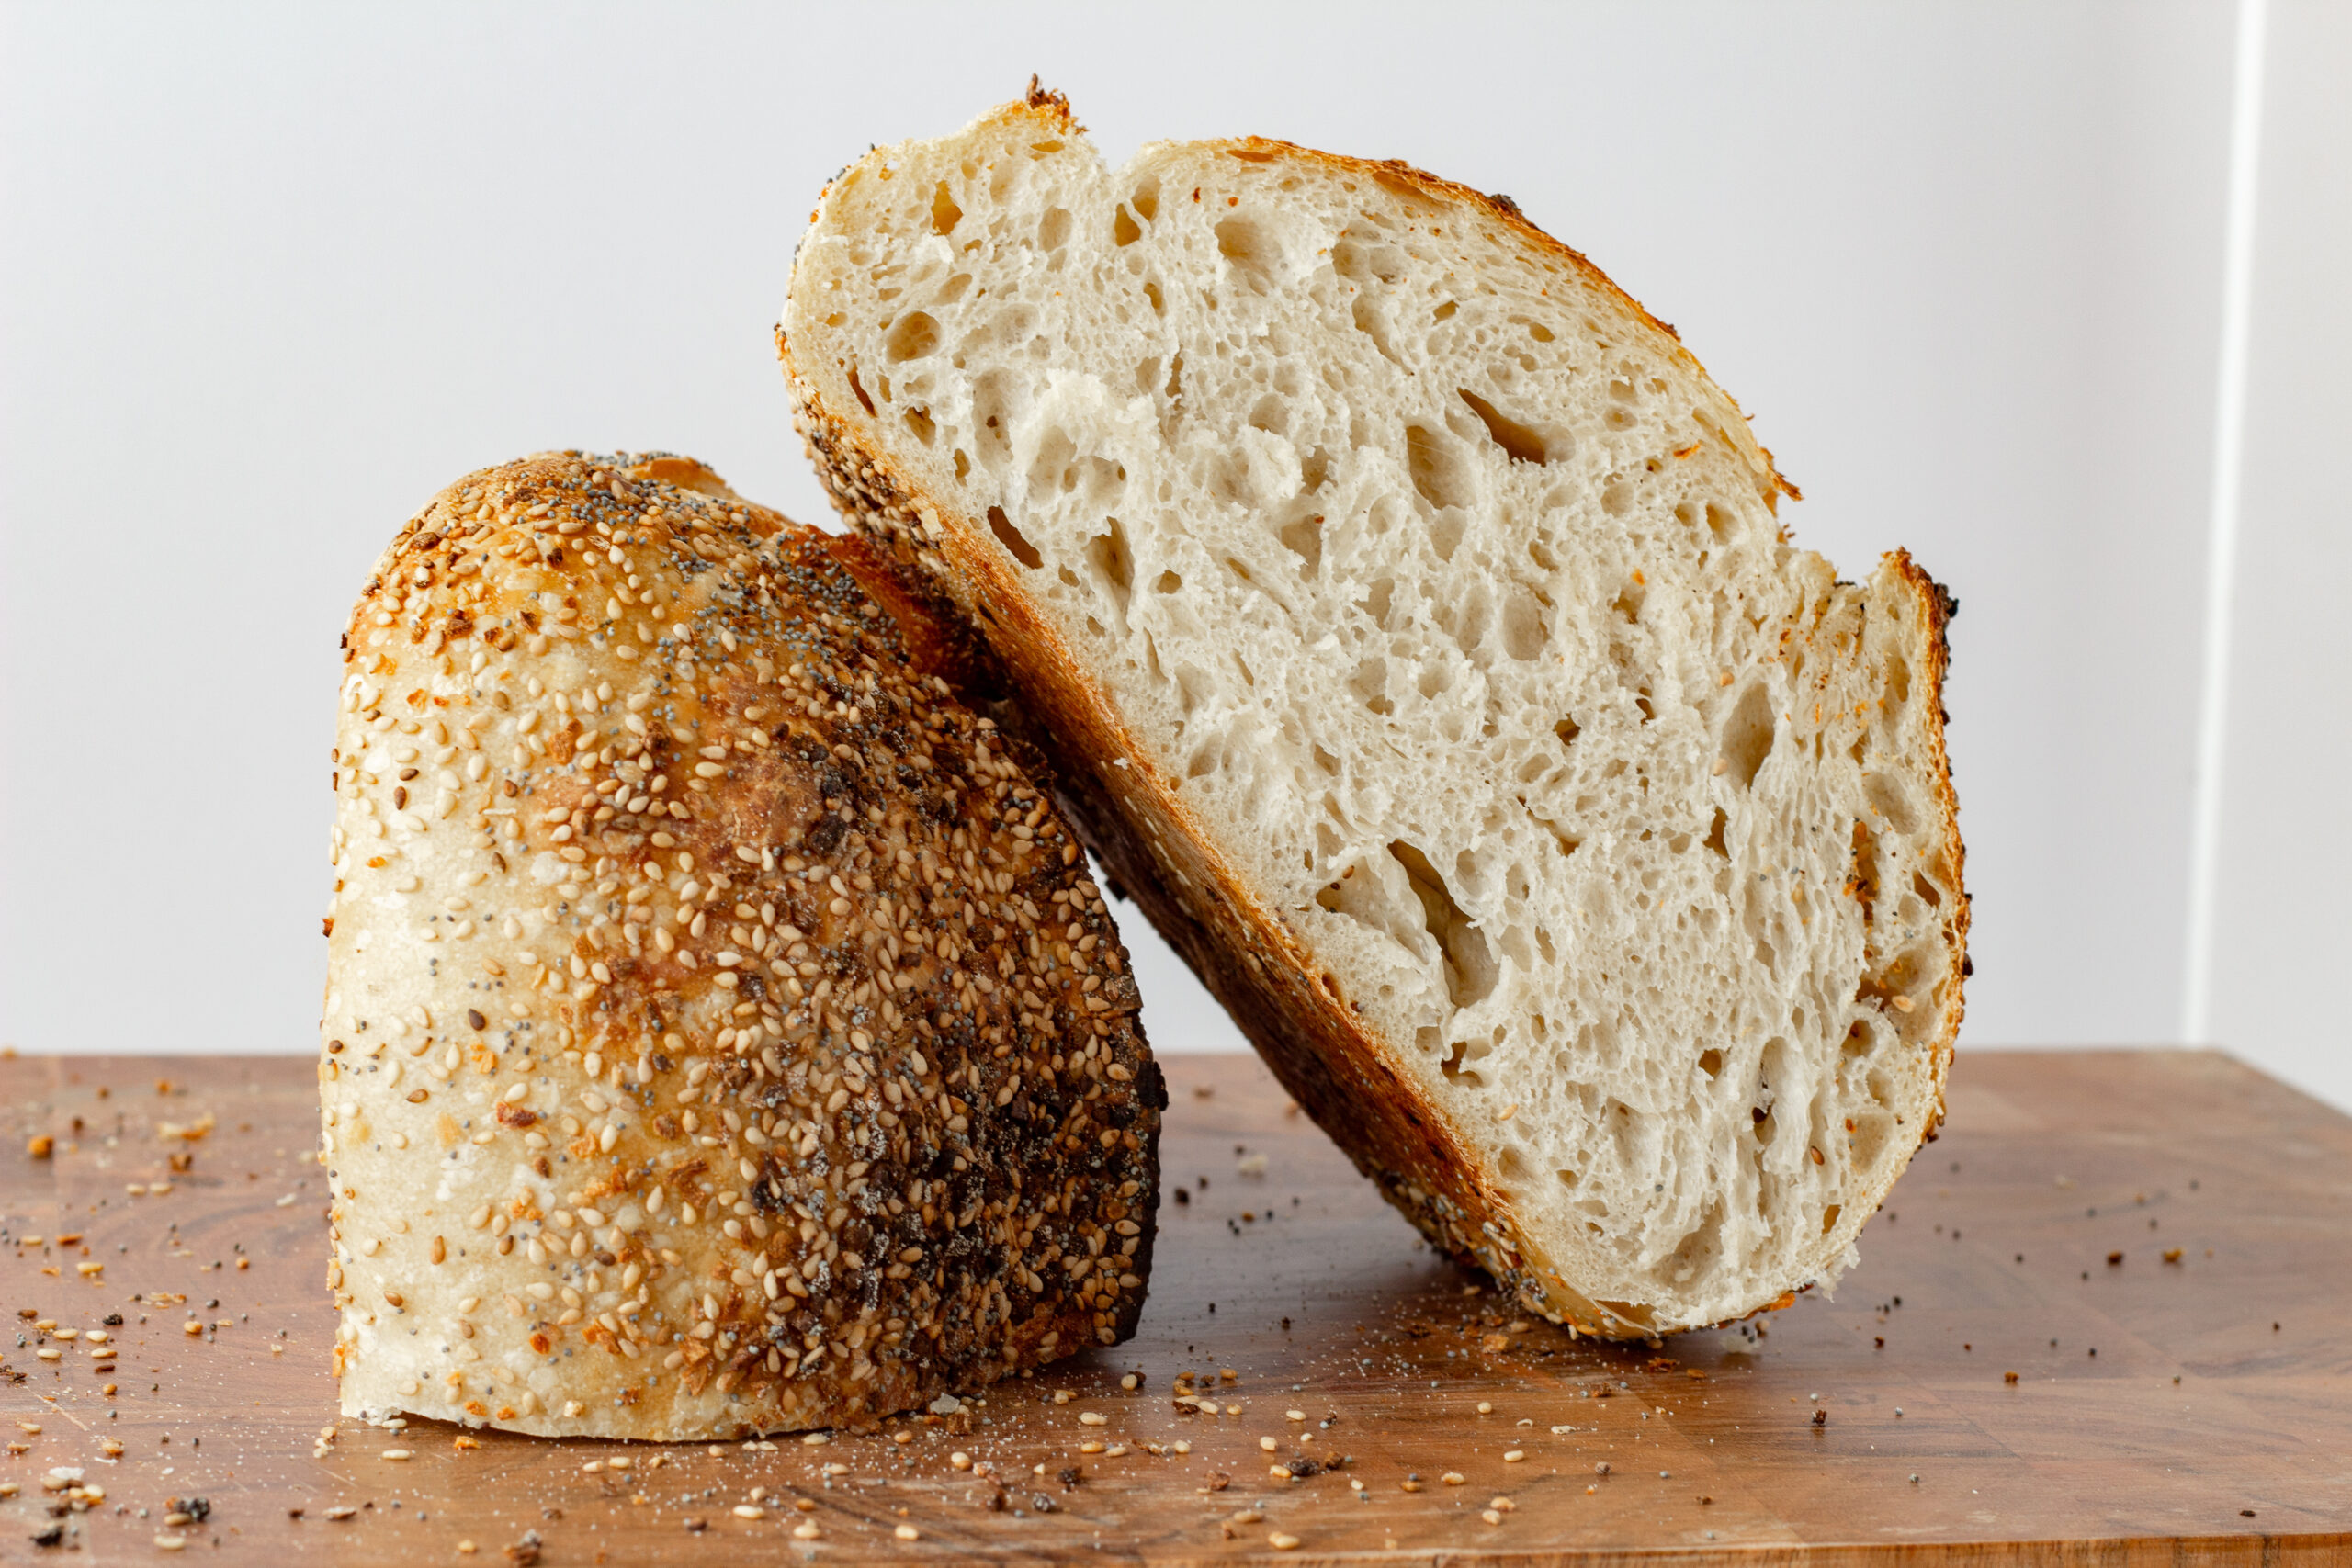
A golden, thin crackly crust with an interior prized of beautiful air pockets, light and airy to touch, satisfying chew and just the right amount of tang. Yum!
Sourdough is beautifully simple in its ingredients, yet incredibly complex in flavor. The methods for making sourdough bread are endless, which means you can really put yourself to the test! Explore what suits your taste buds and discover how to fine-tune your sourdough bread making skills.
In this recipe, I'll dive deep into the small details that make all the difference. These are the personal learning experiences I wish other recipes had mentioned when I was starting out. I had to do a lot of trial and error to fully grasp what was happening with my starter’s health, dough, fermentation lengths, and baking temperatures. With all these variables at play, sourdough making can feel overwhelming at first.
But here's the thing – this recipe is here as your reference guide. Come back to it when you need to troubleshoot or re-educate yourself about what went wrong. And if you're lucky? You might nail it in just a couple of tries!
So many reasons! The obvious: the flavor is more than ordinary and it's incredibly nutritious.
Remember when sourdough became a phenomenon during the pandemic? I was definitely one of those people who hopped on that wagon! With extra time on my hands, I felt inspired to tackle something I knew required effort and learning.
I never shy away from challenging recipes. It's honestly the best way to learn, going beyond cookbooks and YouTube videos to really understand the process through touch and practice.
Sourdough makes digestion much easier on my body since I have a gluten sensitivity. The natural fermentation process makes all the difference, which means I can actually eat bread again!
Plus, I'm in complete control of the flours I use. I always choose organic, small-farm flours that are stone-milled. These traditional flours aid digestion significantly compared to conventional store-bought varieties loaded with glyphosates and GMOs – which are likely the real culprits behind my gluten sensitivity.
I'm thrilled to share that sourdough bread shouldn't be lumped together with modern wheat products. Sourdough is truly special in the nutrition world!
When you eat sourdough bread, you can feel good knowing you're getting:
Now do you see why I'm passionate about making sourdough?
Sourdough bread isn't just food – it's a living testament to patience, tradition, and the incredible power of natural fermentation. Whether you're a complete beginner feeling intimidated by starter maintenance or an experienced baker looking to perfect your technique, this comprehensive guide will walk you through every step.
Trust me, it's well worth the effort in the long run. Plus, you can transform leftover sourdough bread in countless creative ways! Be sure to check out my sourdough-inspired recipes below for even more delicious possibilities.
There are quite a few tools needed to make sourdough, but I'll break down the essentials and the items that make things easier but aren't necessary. As you learn how to make sourdough, you can gradually acquire more specialized items to elevate your sourdough game.
You can find links at the bottom of the recipe card for tools I personally use and recommend.
Essentials:
Bonus Items:
Your sourdough starter is home to two incredible microorganisms working together as a perfect team: Yeast and Bacteria.
Wild Yeast does the heavy lifting by eating flour sugars and producing carbon dioxide. This creates those beautiful bubbles that make your bread rise and gives you that airy, open crumb structure.
Lactobacilli Bacteria is the flavor creator. The bacteria produces lactic and acetic acids, which give sourdough its signature tangy taste and help preserve the bread naturally.
Flavor: Commercial yeast bread tastes pretty neutral. Sourdough has complex, tangy notes that develop over hours of fermentation.
Texture: Store-bought yeast creates uniform, predictable bubbles. Wild yeast fermentation creates irregular air pockets and a chewier, more substantial crumb.
Nutrition: The long fermentation process breaks down proteins and starches, making sourdough easier to digest. It also has a lower glycemic index than regular bread.
Shelf life: Sourdough naturally stays fresh longer thanks to those beneficial acids that inhibit mold growth.
Here's the thing about sourdough – you can't rush perfection. While natural yeast allows for a quick rise. Wild yeast works much slower than commercial yeast. While instant yeast can raise bread in 1-2 hours, sourdough fermentation takes 4-24 hours depending on temperature and starter strength. The longer fermentation times allows enzymes to break down complex carbohydrates and proteins creating all those amazing flavors and health benefits.
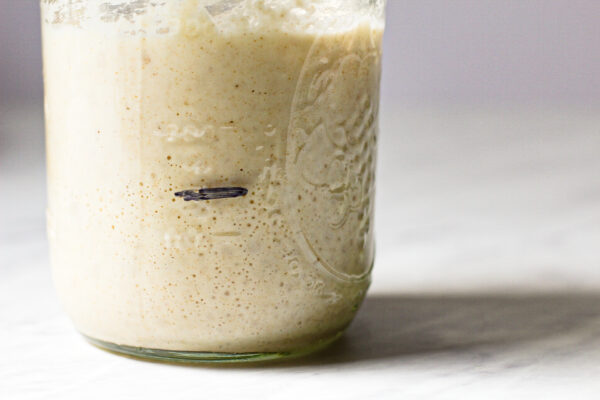
Your Bubbly Best Friend
Your starter is the heart and soul of every sourdough loaf. This living culture will become your most reliable kitchen companion. You may even feel inspired to name your starter because when you understand the care that goes into nurturing it, it truly feels like you've welcomed a new member into your family.
Option 1: Make Your Own from Scratch
Creating your own starter takes about 7-14 days but gives you complete control over the process. You'll capture wild yeast from your local environment, making your starter truly unique to your kitchen.
Stay tuned for a "Make Your Own Starter Guide".
Option 2: Purchase an Established Starter Online
Want to skip the waiting period? There is a wide source of already established freeze-dried starters that can be purchased online typically coming in two forms:
Both options will give you that same bubbly best friend – it's just a matter of whether you want to raise it from "birth" or adopt a mature culture! Check here for Sourdough Starter Care Instructions
Note: You can easily adjust the times to your own schedule.
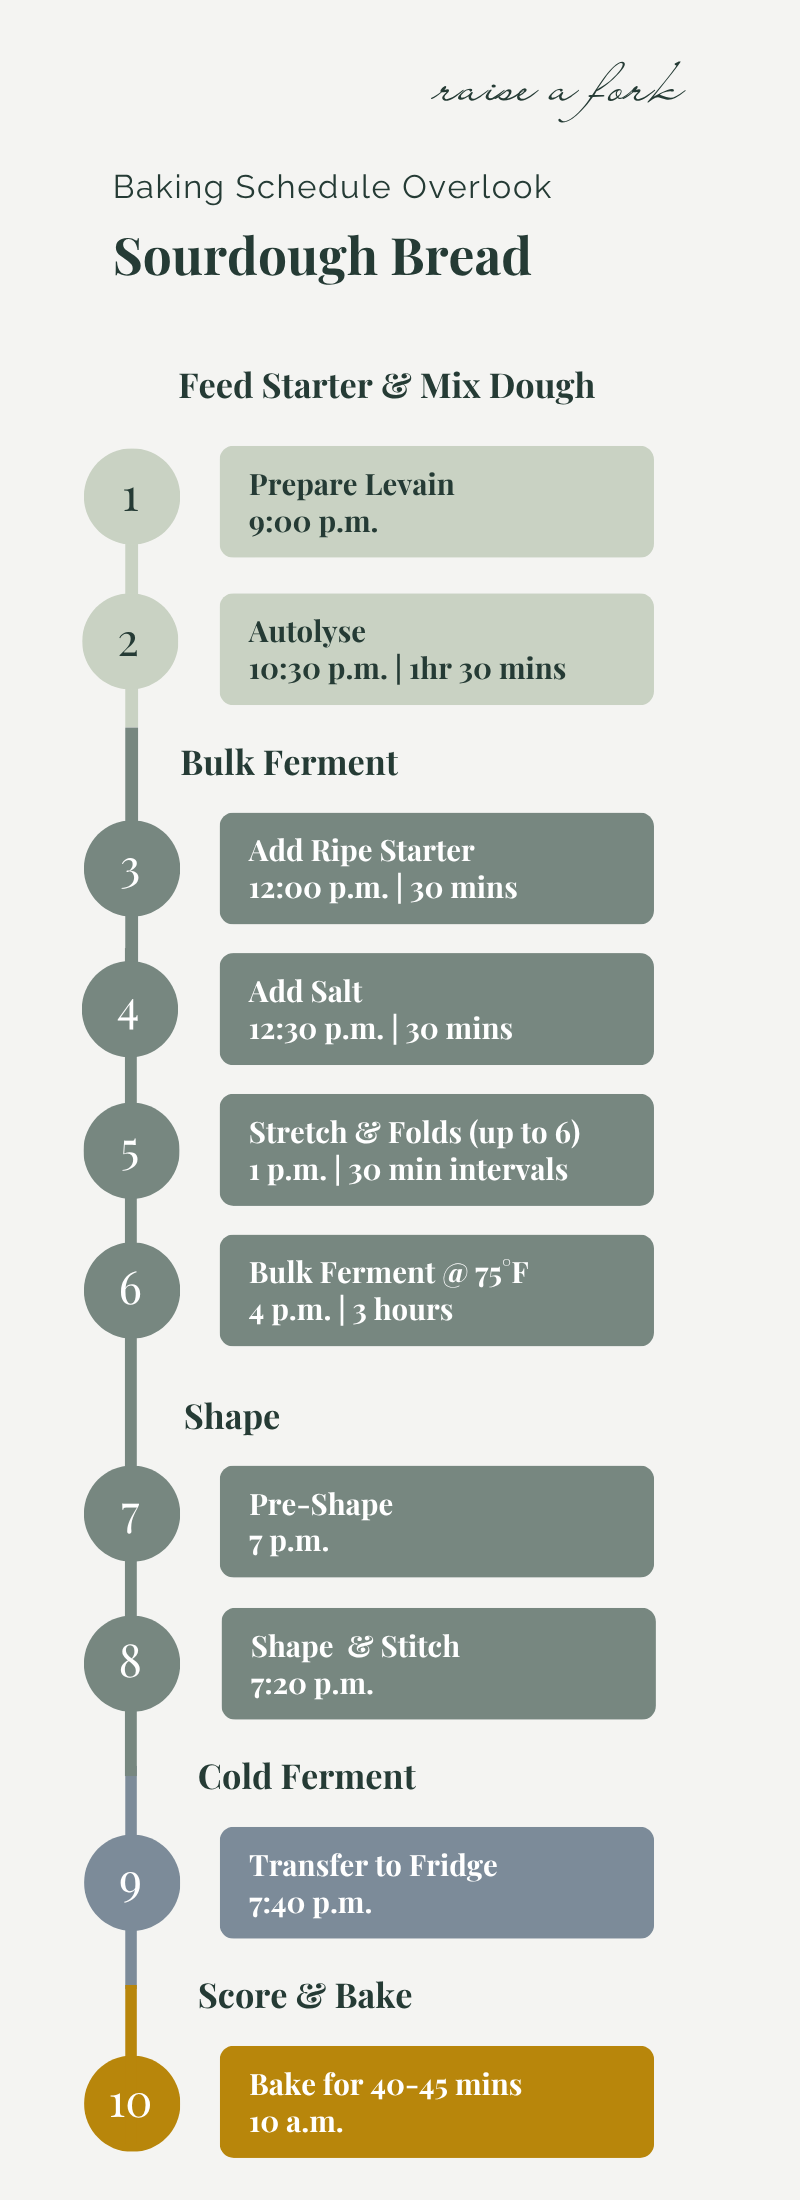
Below you will find photos of each step and a detailed explanation.
9 p.m.
10:30 a.m.
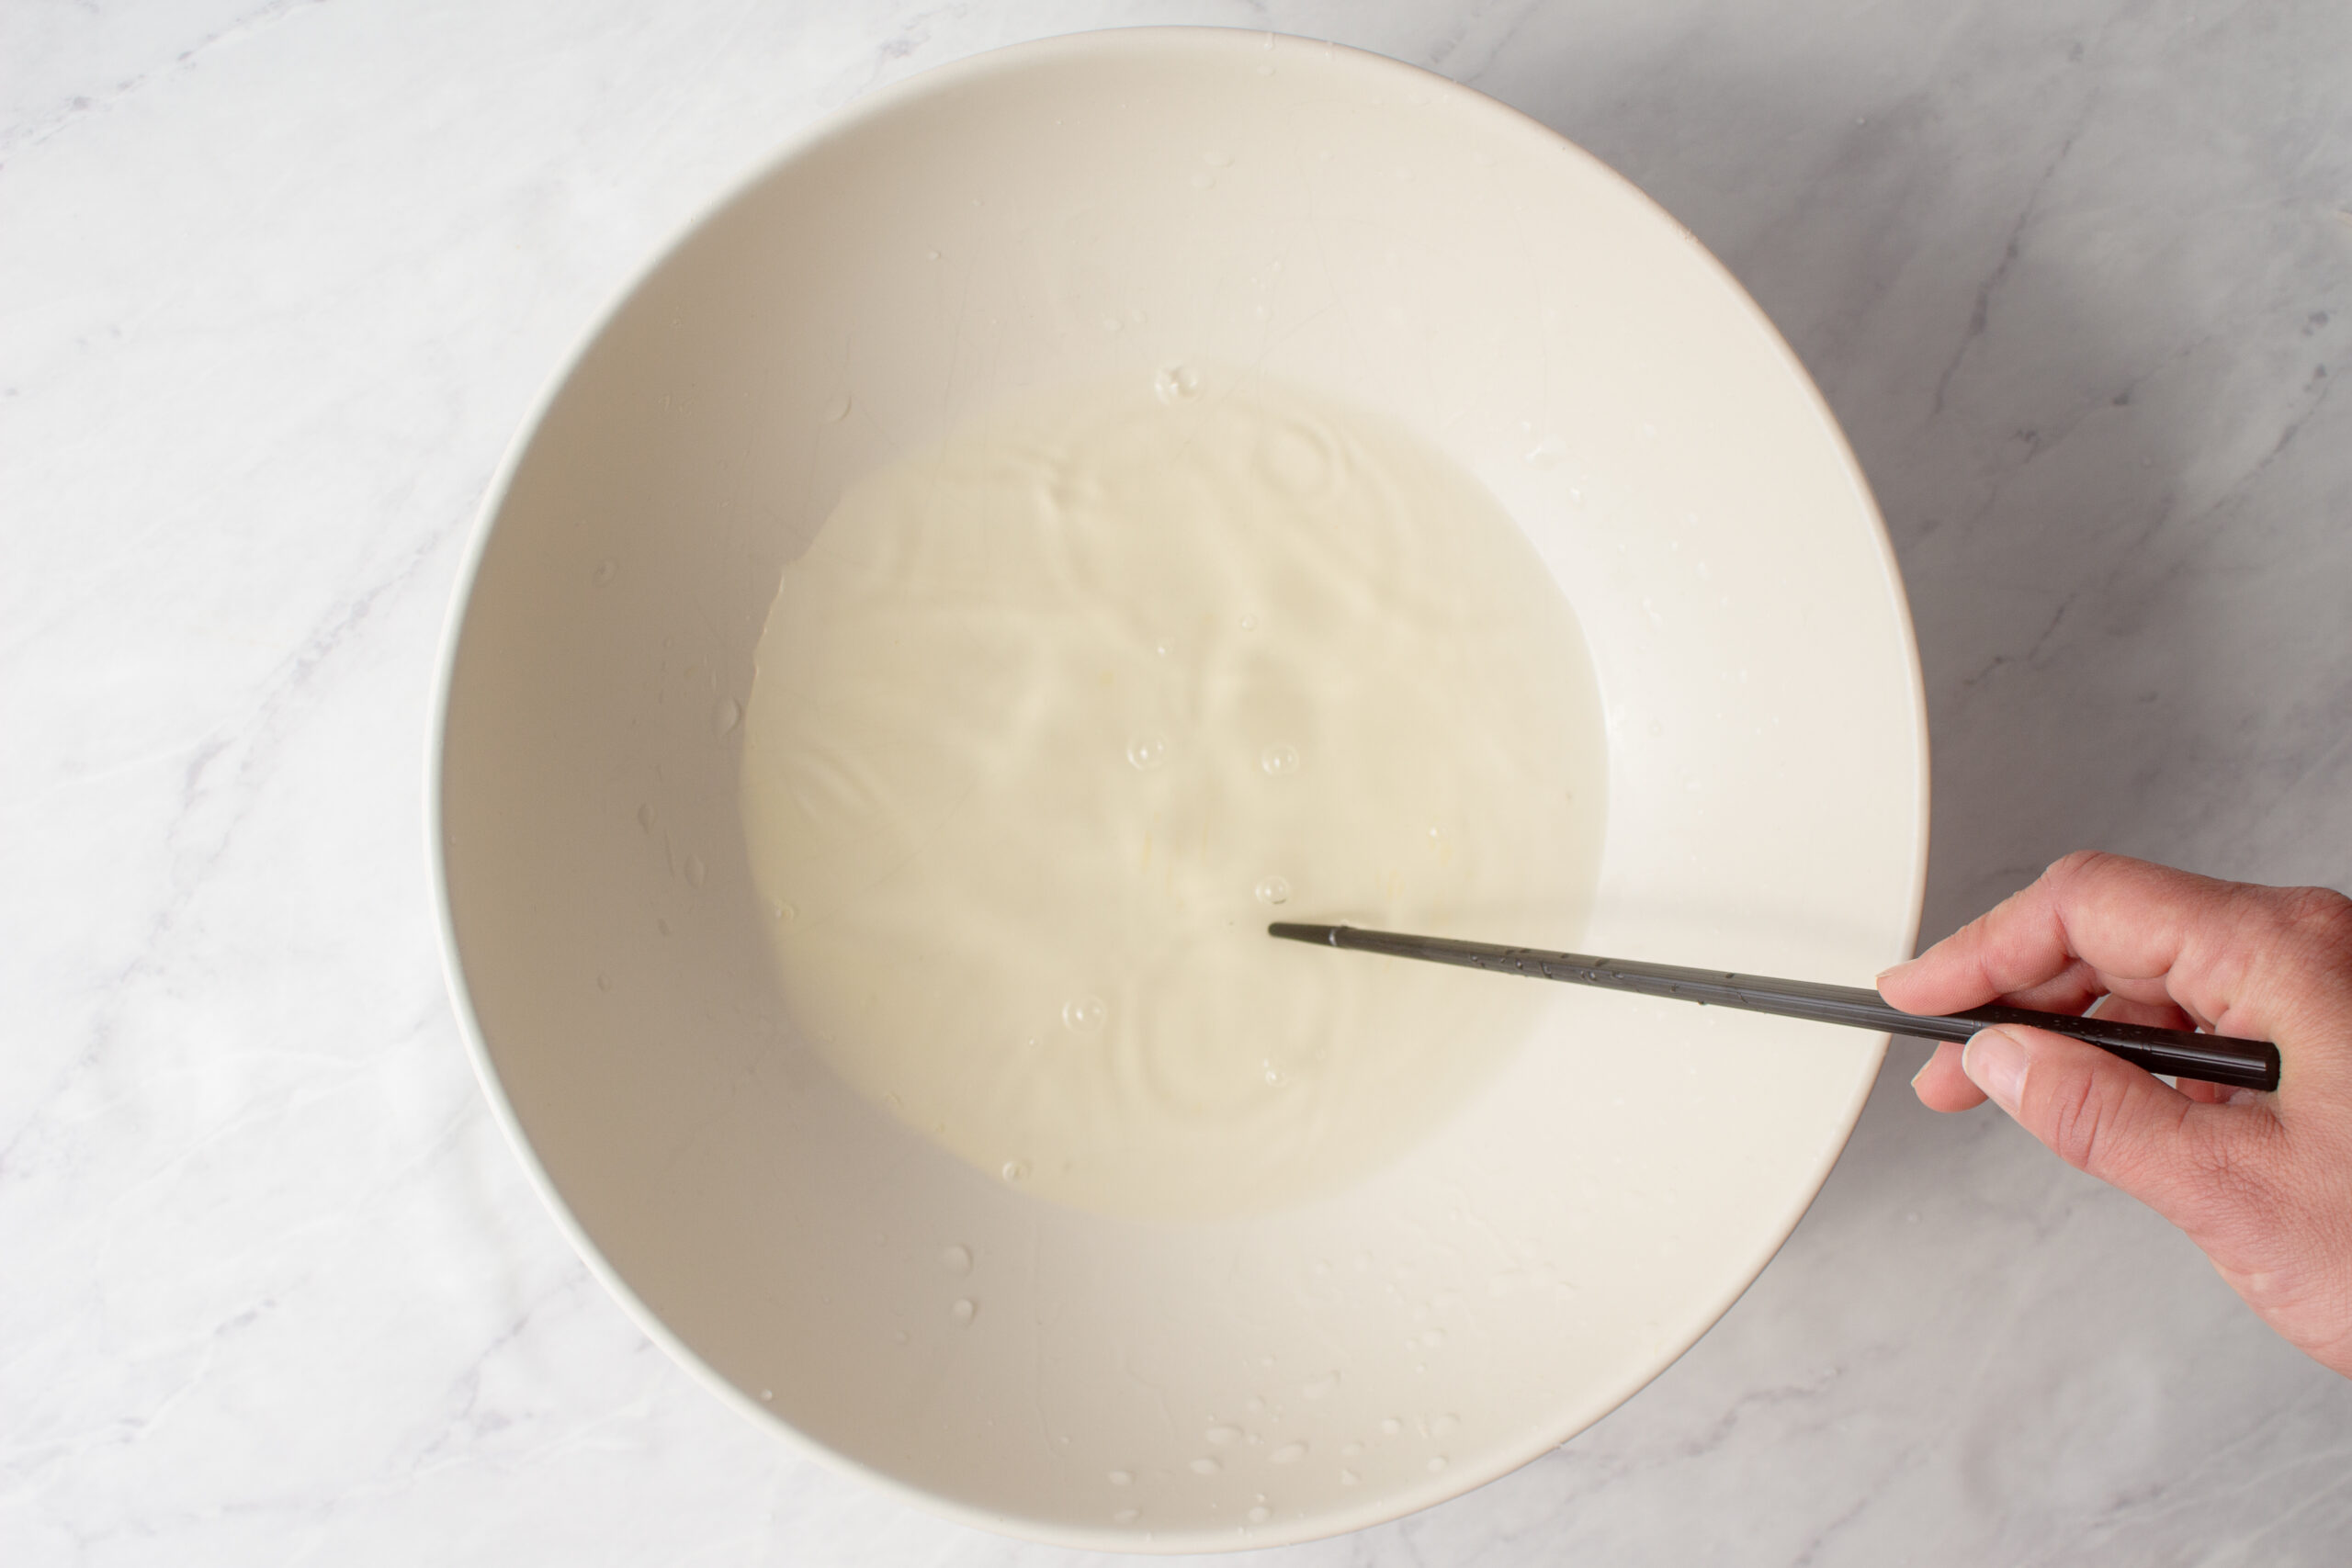
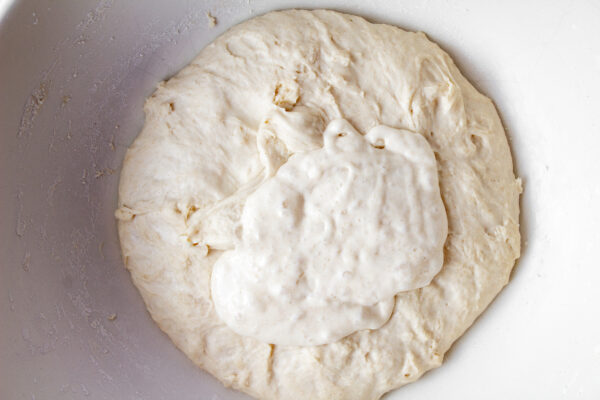
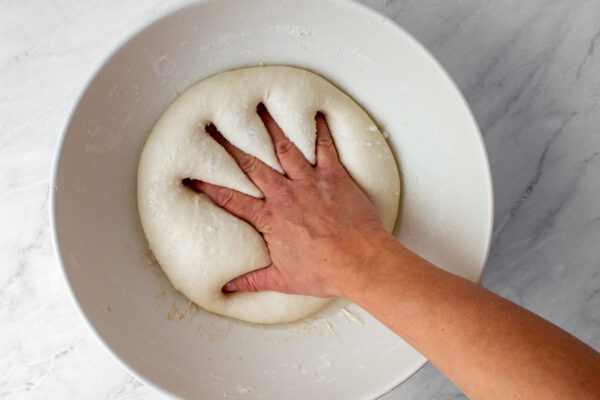
Autolyse is a technique where you mix just the flour and water and let them rest together before adding the starter and salt. During this step, the flour fully hydrates and natural enzymes begin breaking down proteins and starches. This improves the dough's structure, creates better texture with more open crumb, enhances flavor complexity, and makes the dough easier to handle with less stickiness.
Bulk fermentation can last anywhere from 3-4 hours in warm conditions (80-85°F) to 12-24 hours or even longer in cold conditions. At room temperature (70-75°F), it typically takes 4-6 hours. I use a bread proofer box to control the timing so in this recipe it takes a total of 6-7 hours at 75°F.
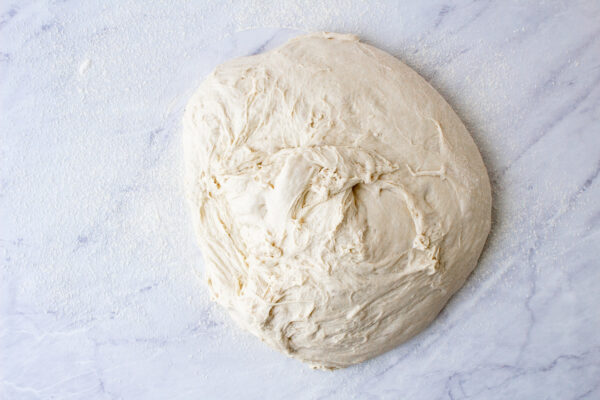
Bulk fermentation begins as soon as the starter hits the dough and ends when you divide and pre-shape.
12 p.m.


12:30 p.m.
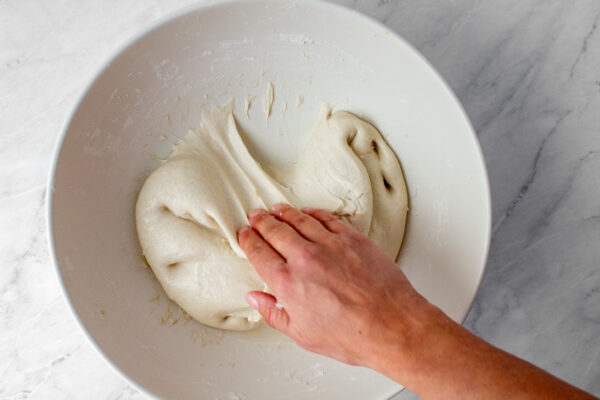
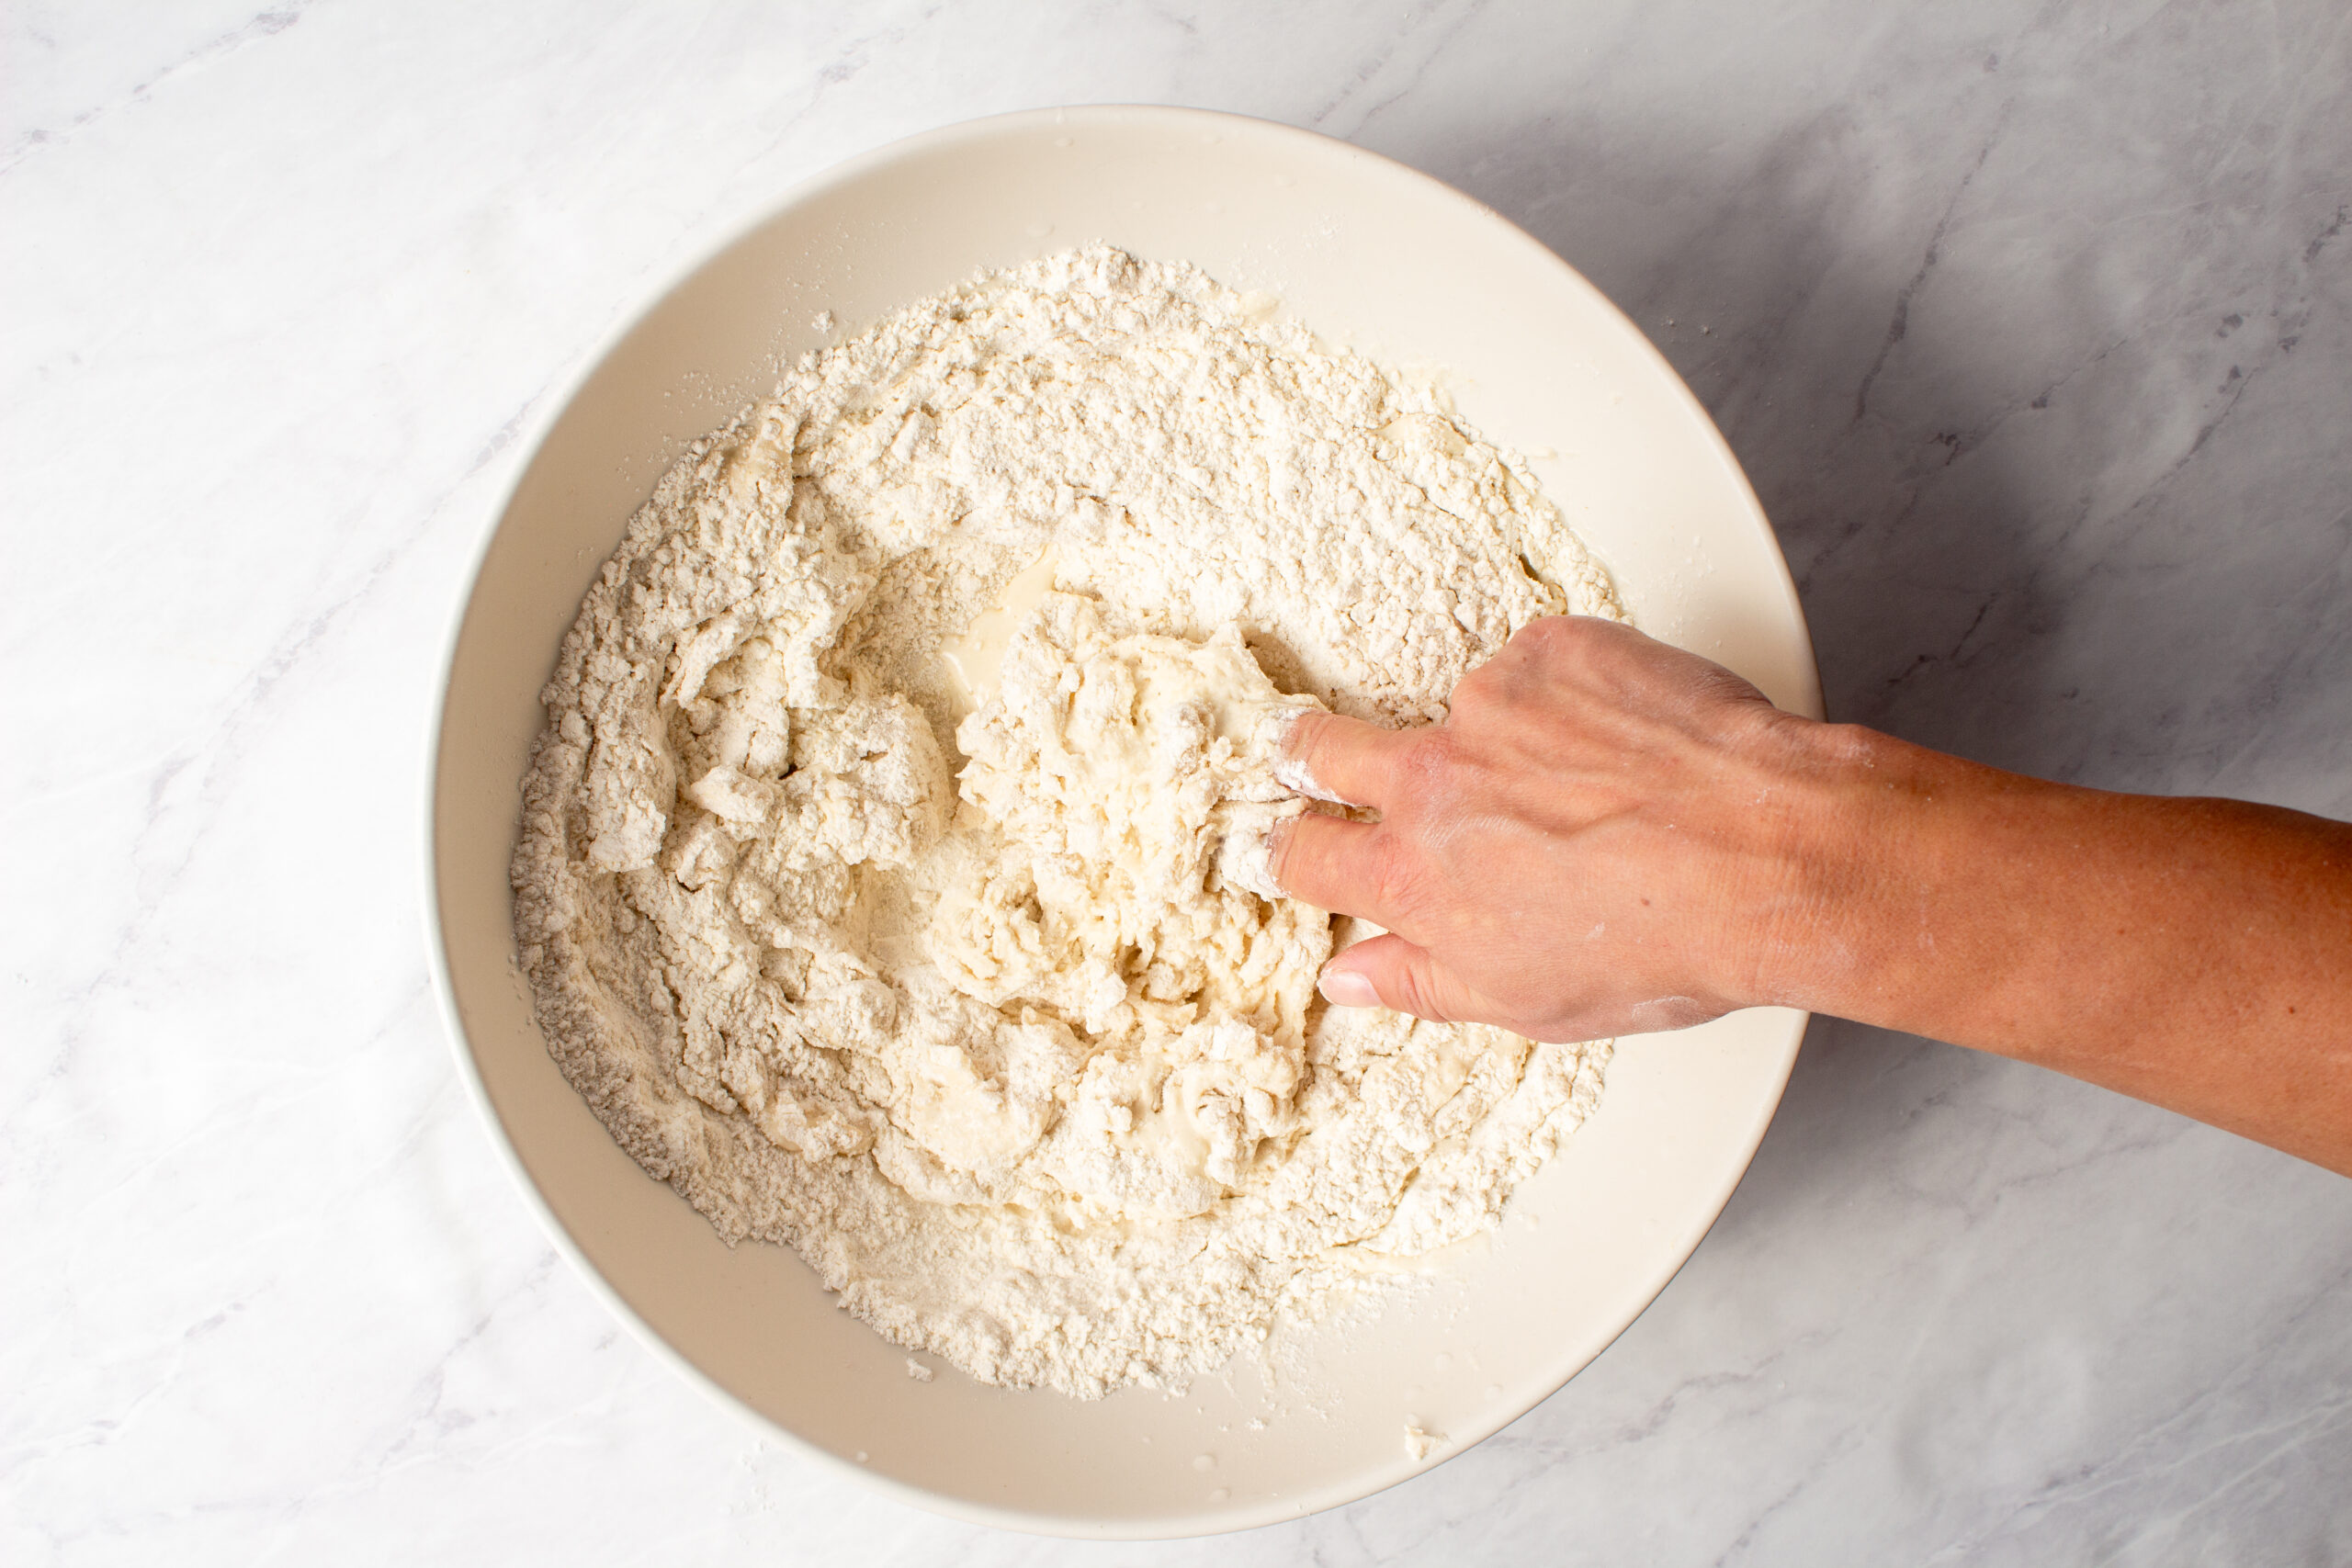
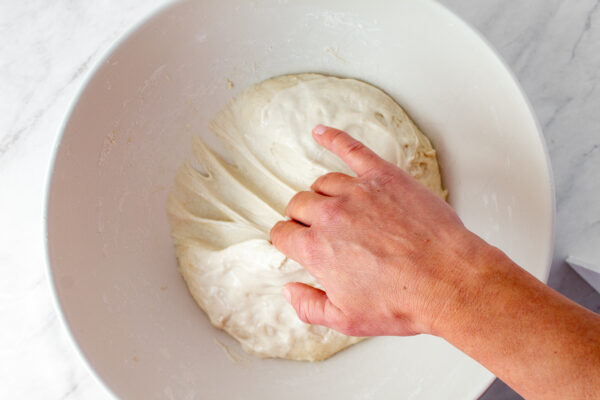
This is the most challenging step. You'll notice the salt initially creates a barrier and separates the dough into layers, creating holes and tears. This rough textural appearance will disappear once you've fully incorporated and dissolved the salt into the dough. The dough will become smooth and tacky again, like it was in the previous step, and will no longer feel slippery. Don’t give up!
1 p.m - 4 p.m.


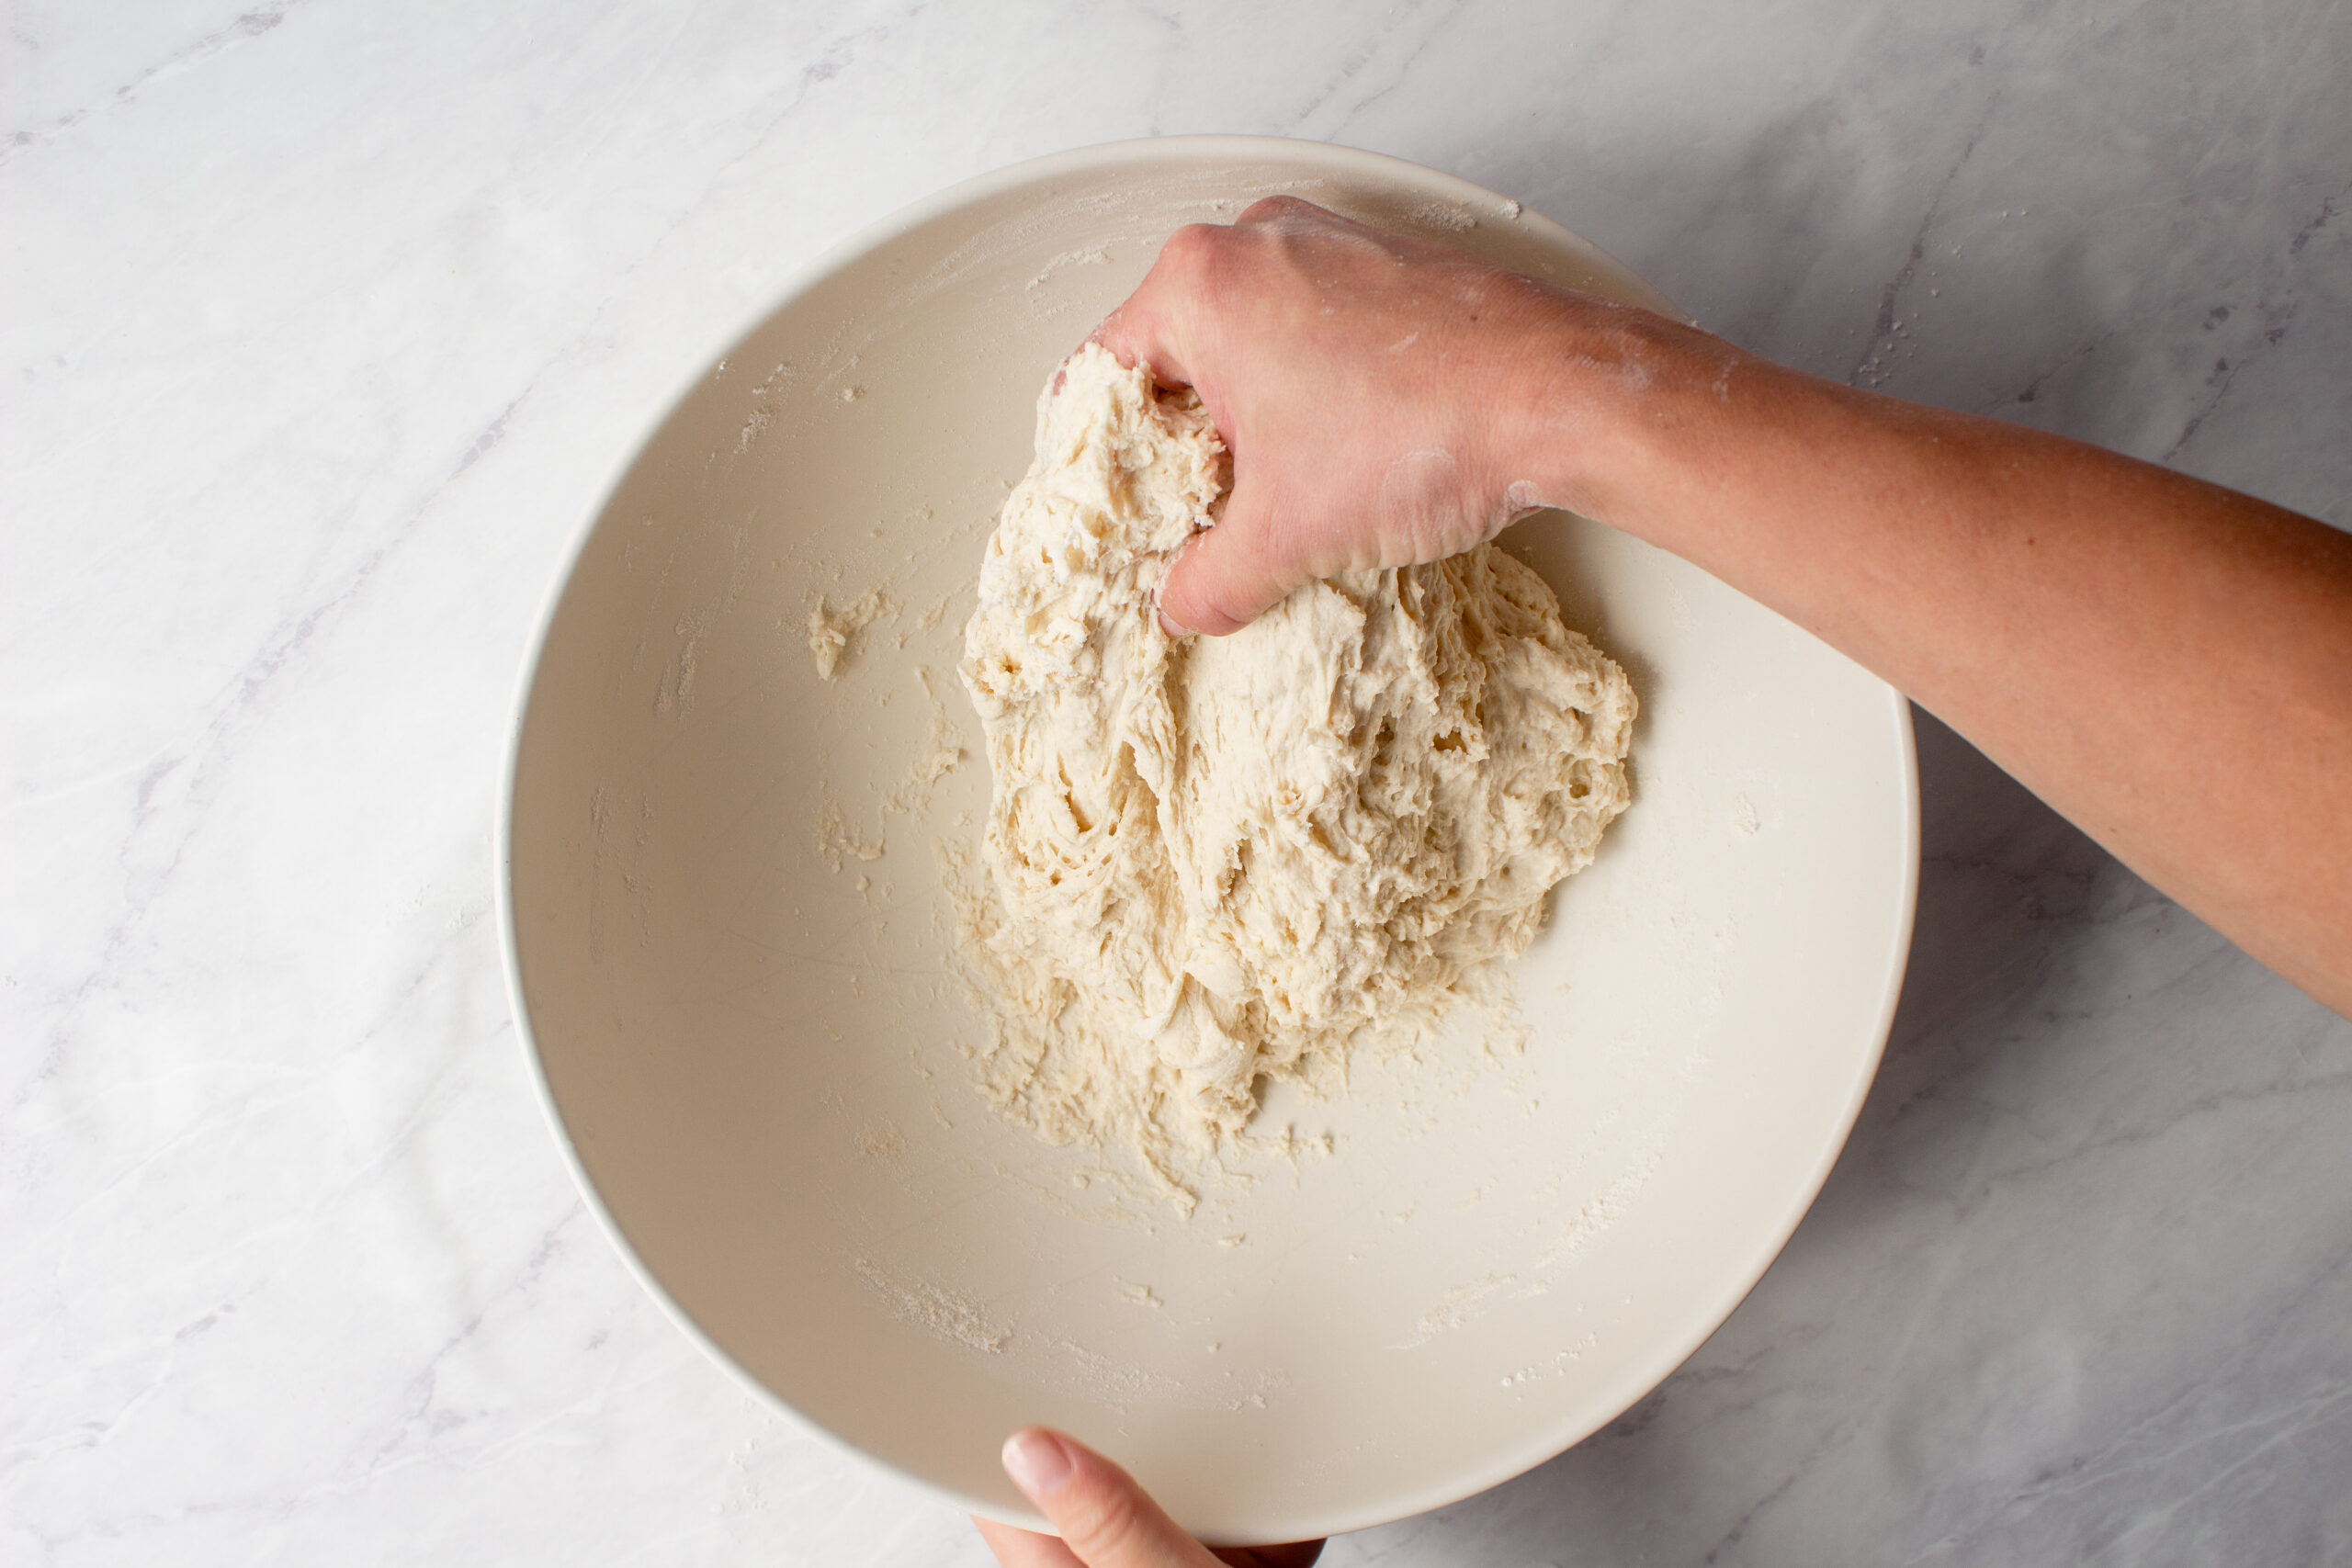
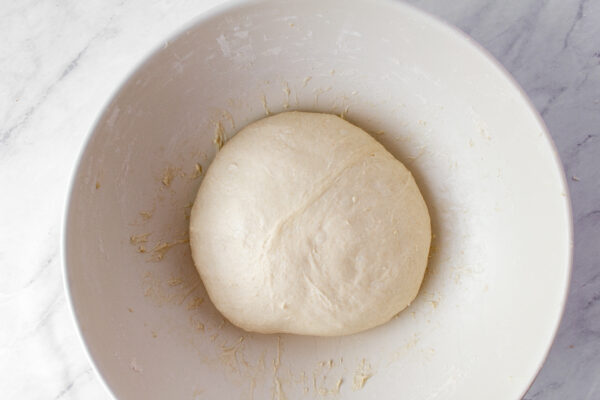
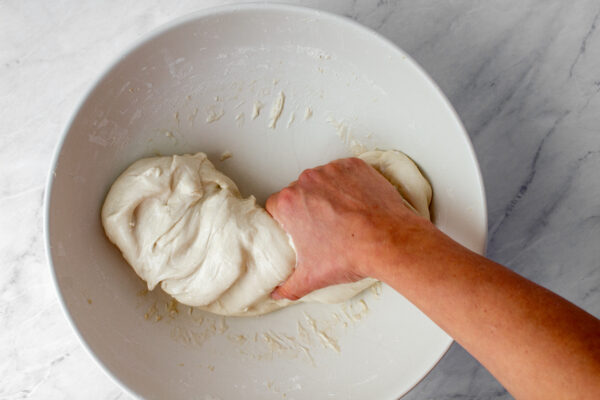
I prefer to incorporate two types of folds: Stretch and Folds & Coil Folds
I will perform Stretch and Folds in the beginning as this technique builds the gluten structure and traps in air. When the dough becomes smoother and delicate, I switch to Coil Folds that are more gentler, help preserve bubbles, and continue to build tension. In total I perform up to 6 folding sequences. But begin with what you are comfortable with.
4 p.m. - 7 p.m.
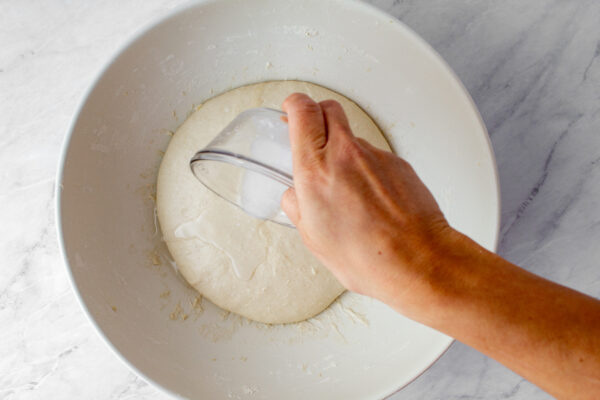
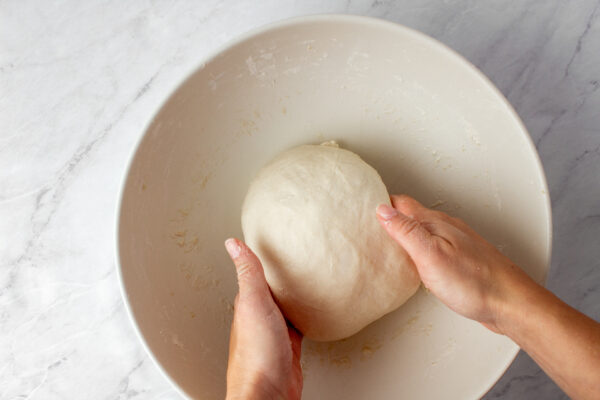
I like to transfer my dough to a clear container so I can monitor its growth. This step has been incredibly helpful in my sourdough process. When you leave the dough in a bowl, it's difficult to gauge how much the dough has actually risen.
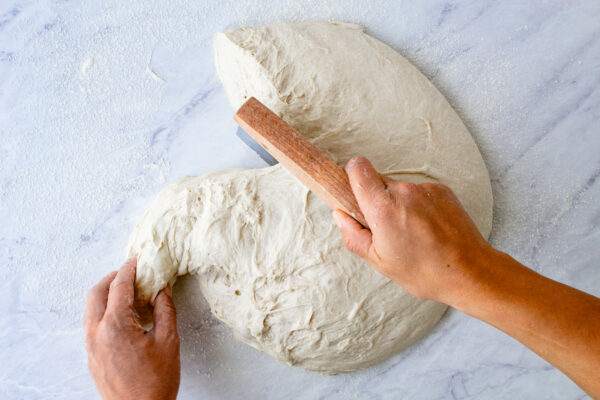
7 p.m.
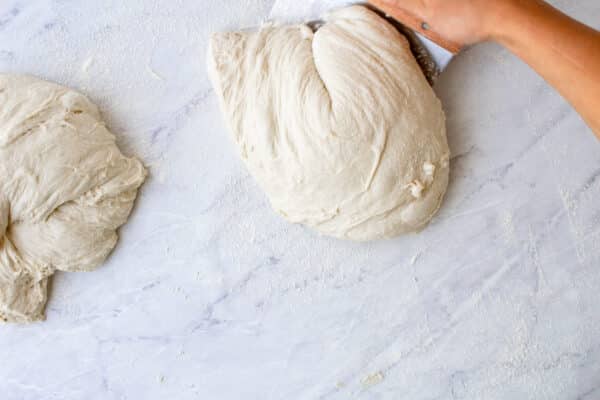
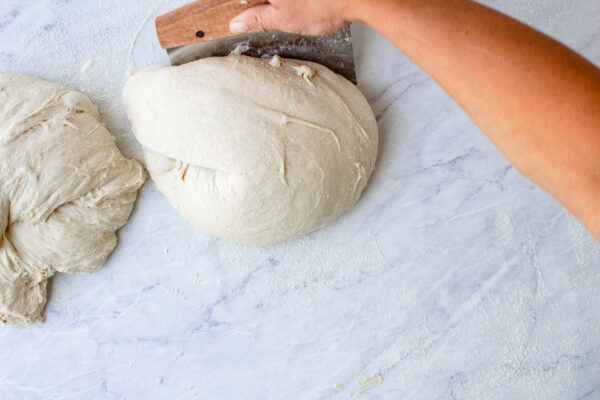


7:20 p.m.
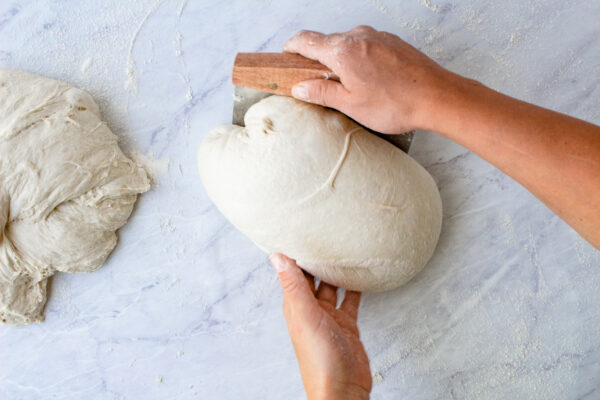
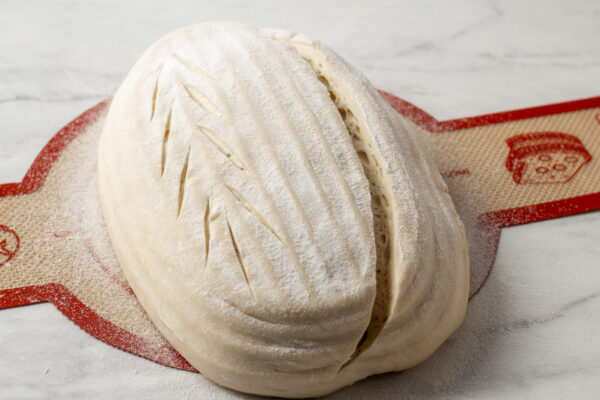
7:30 p.m.
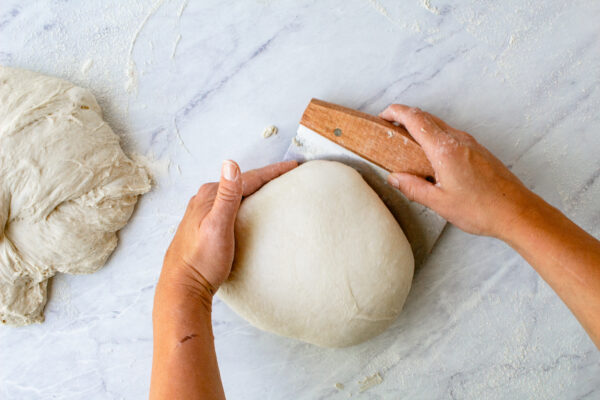
7:40 p.m.
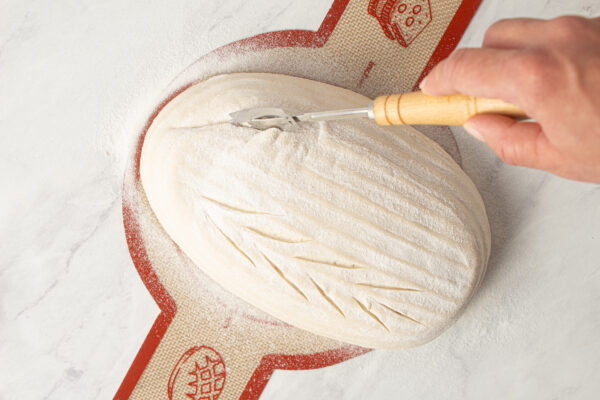
Next Morning around 10 a.m.
Rest for several hours before cutting into or your bread could become gummy from not cooling down enough.
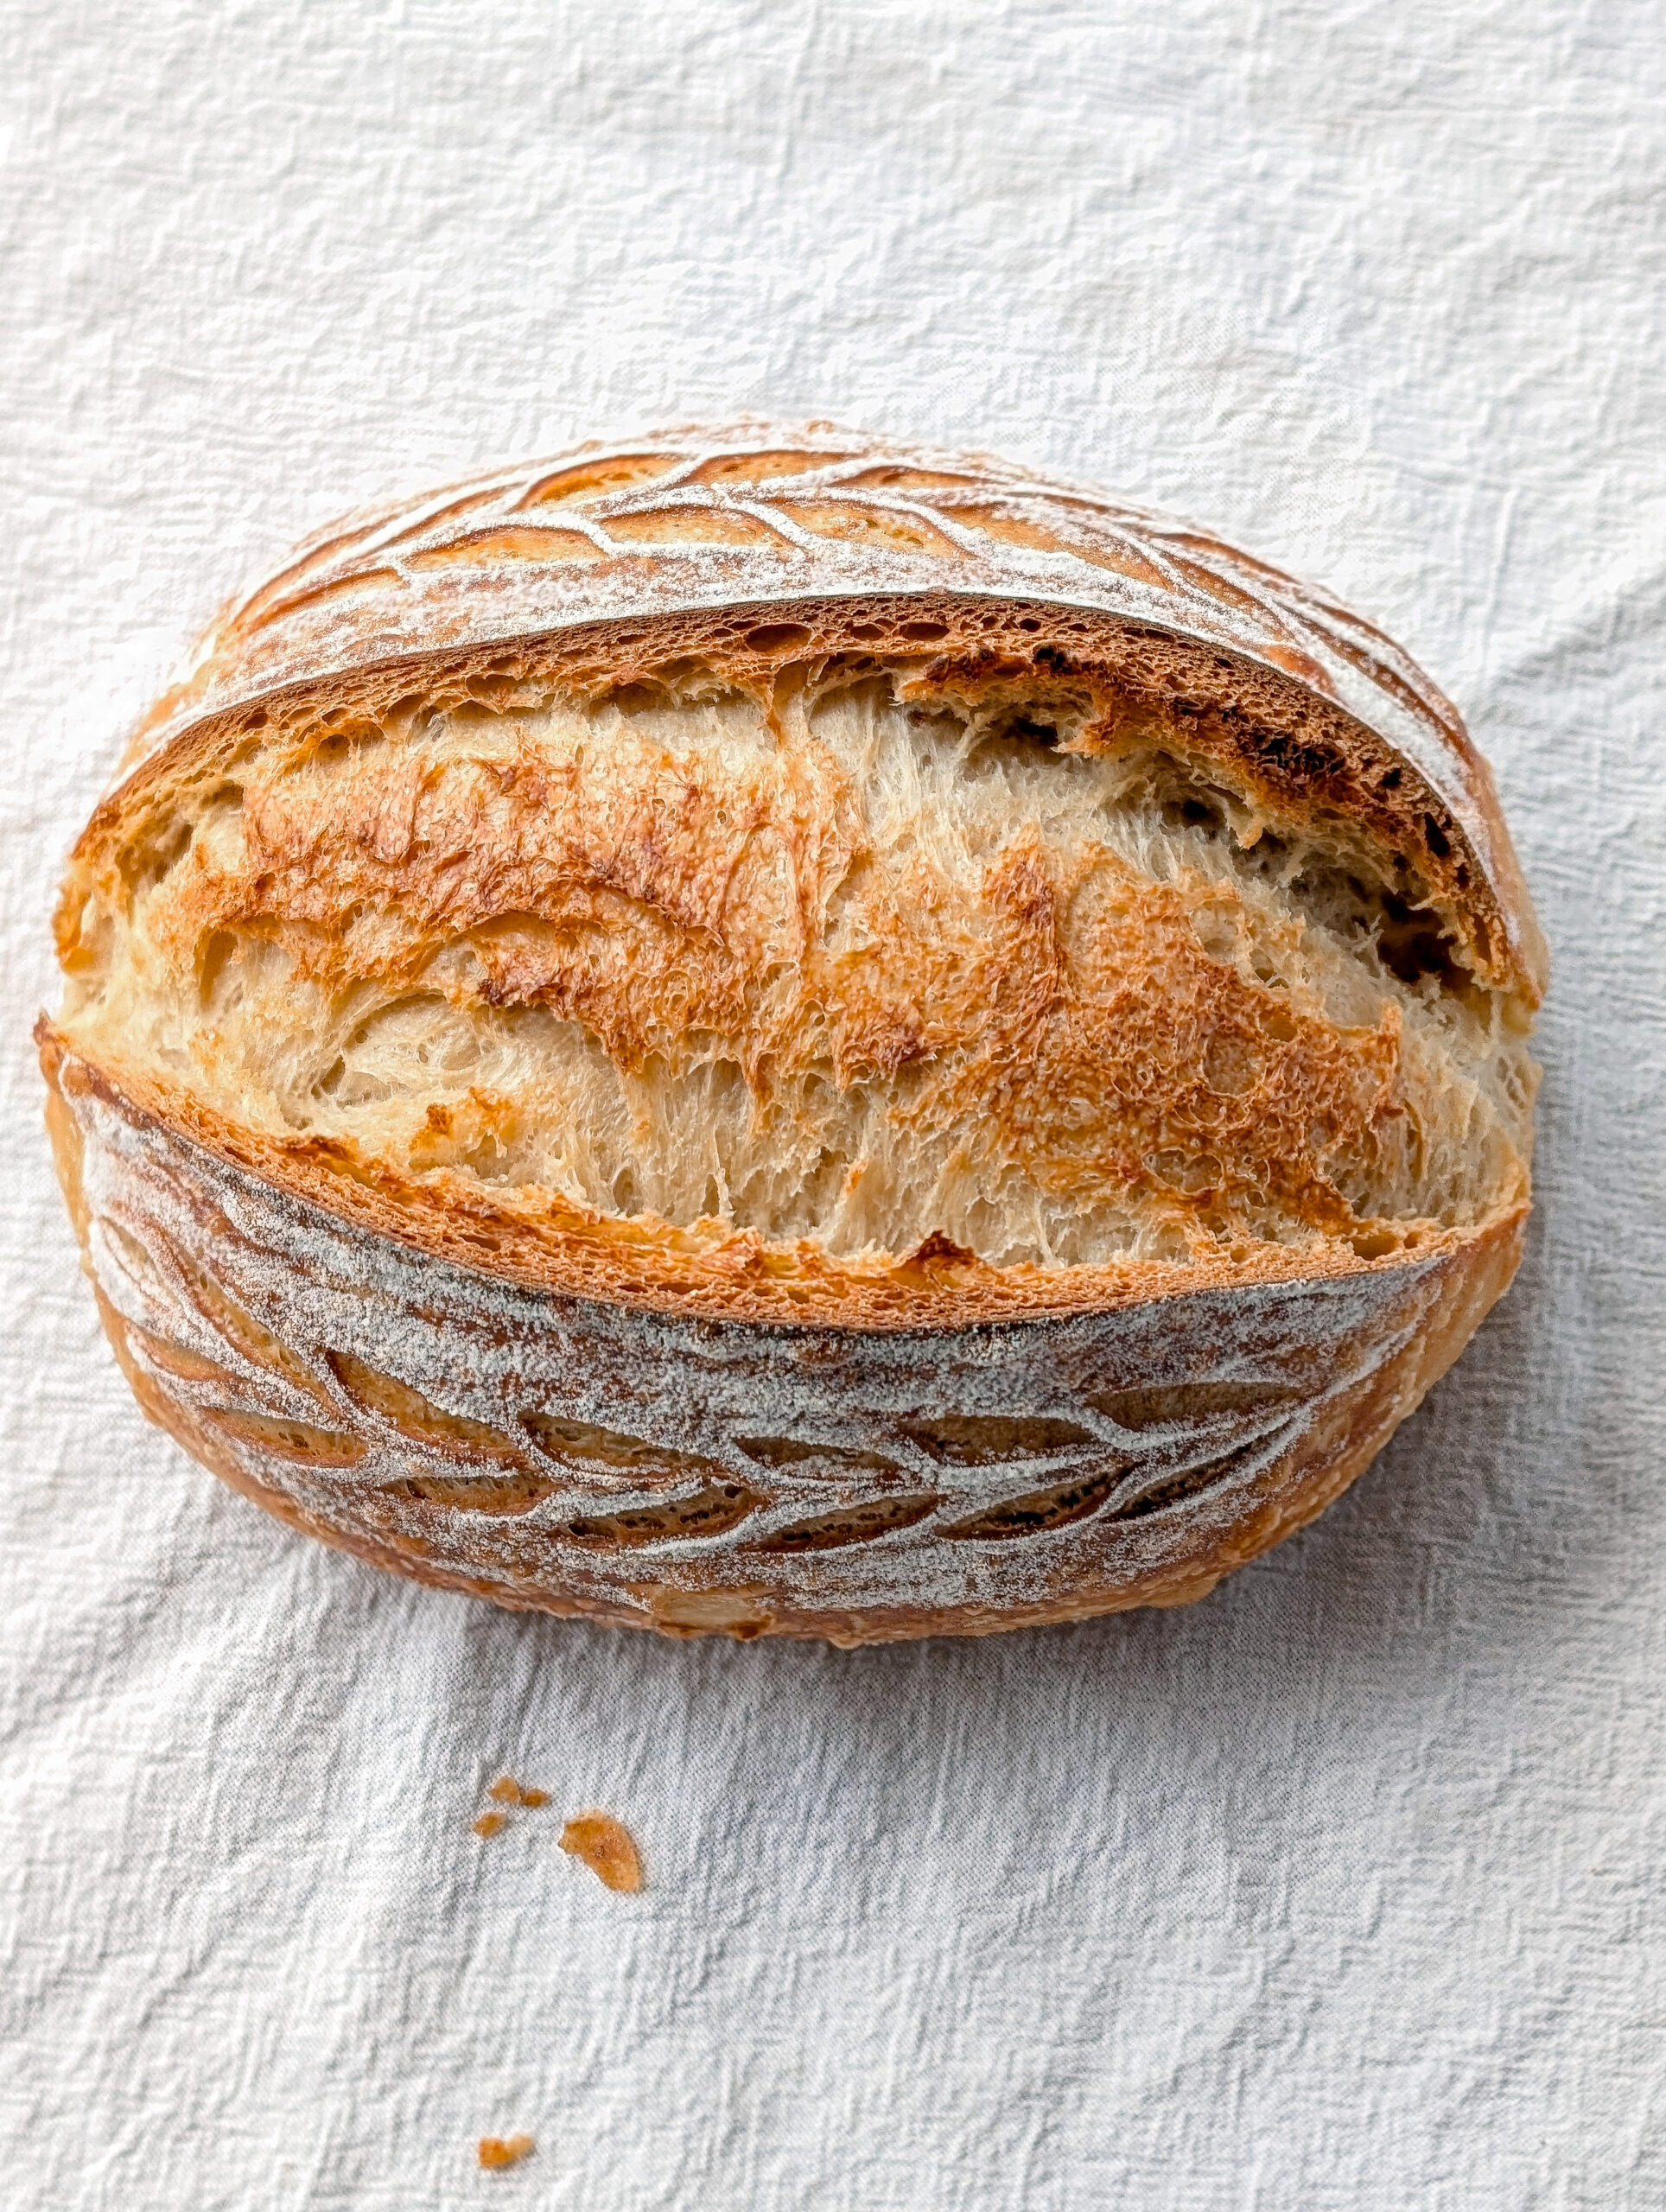
A golden, thin crackly crust with an interior prized of beautiful air pockets, light and airy to touch, satisfying chew and just the right amount of tang. Yum!
Feed a portion of your starter. I prefer a 1:4:4 ratio so it is at peak when I begin baking in the morning.
Cover and rest for 30 minutes. Place in a warm proofing area. Preferably 73-75°F.
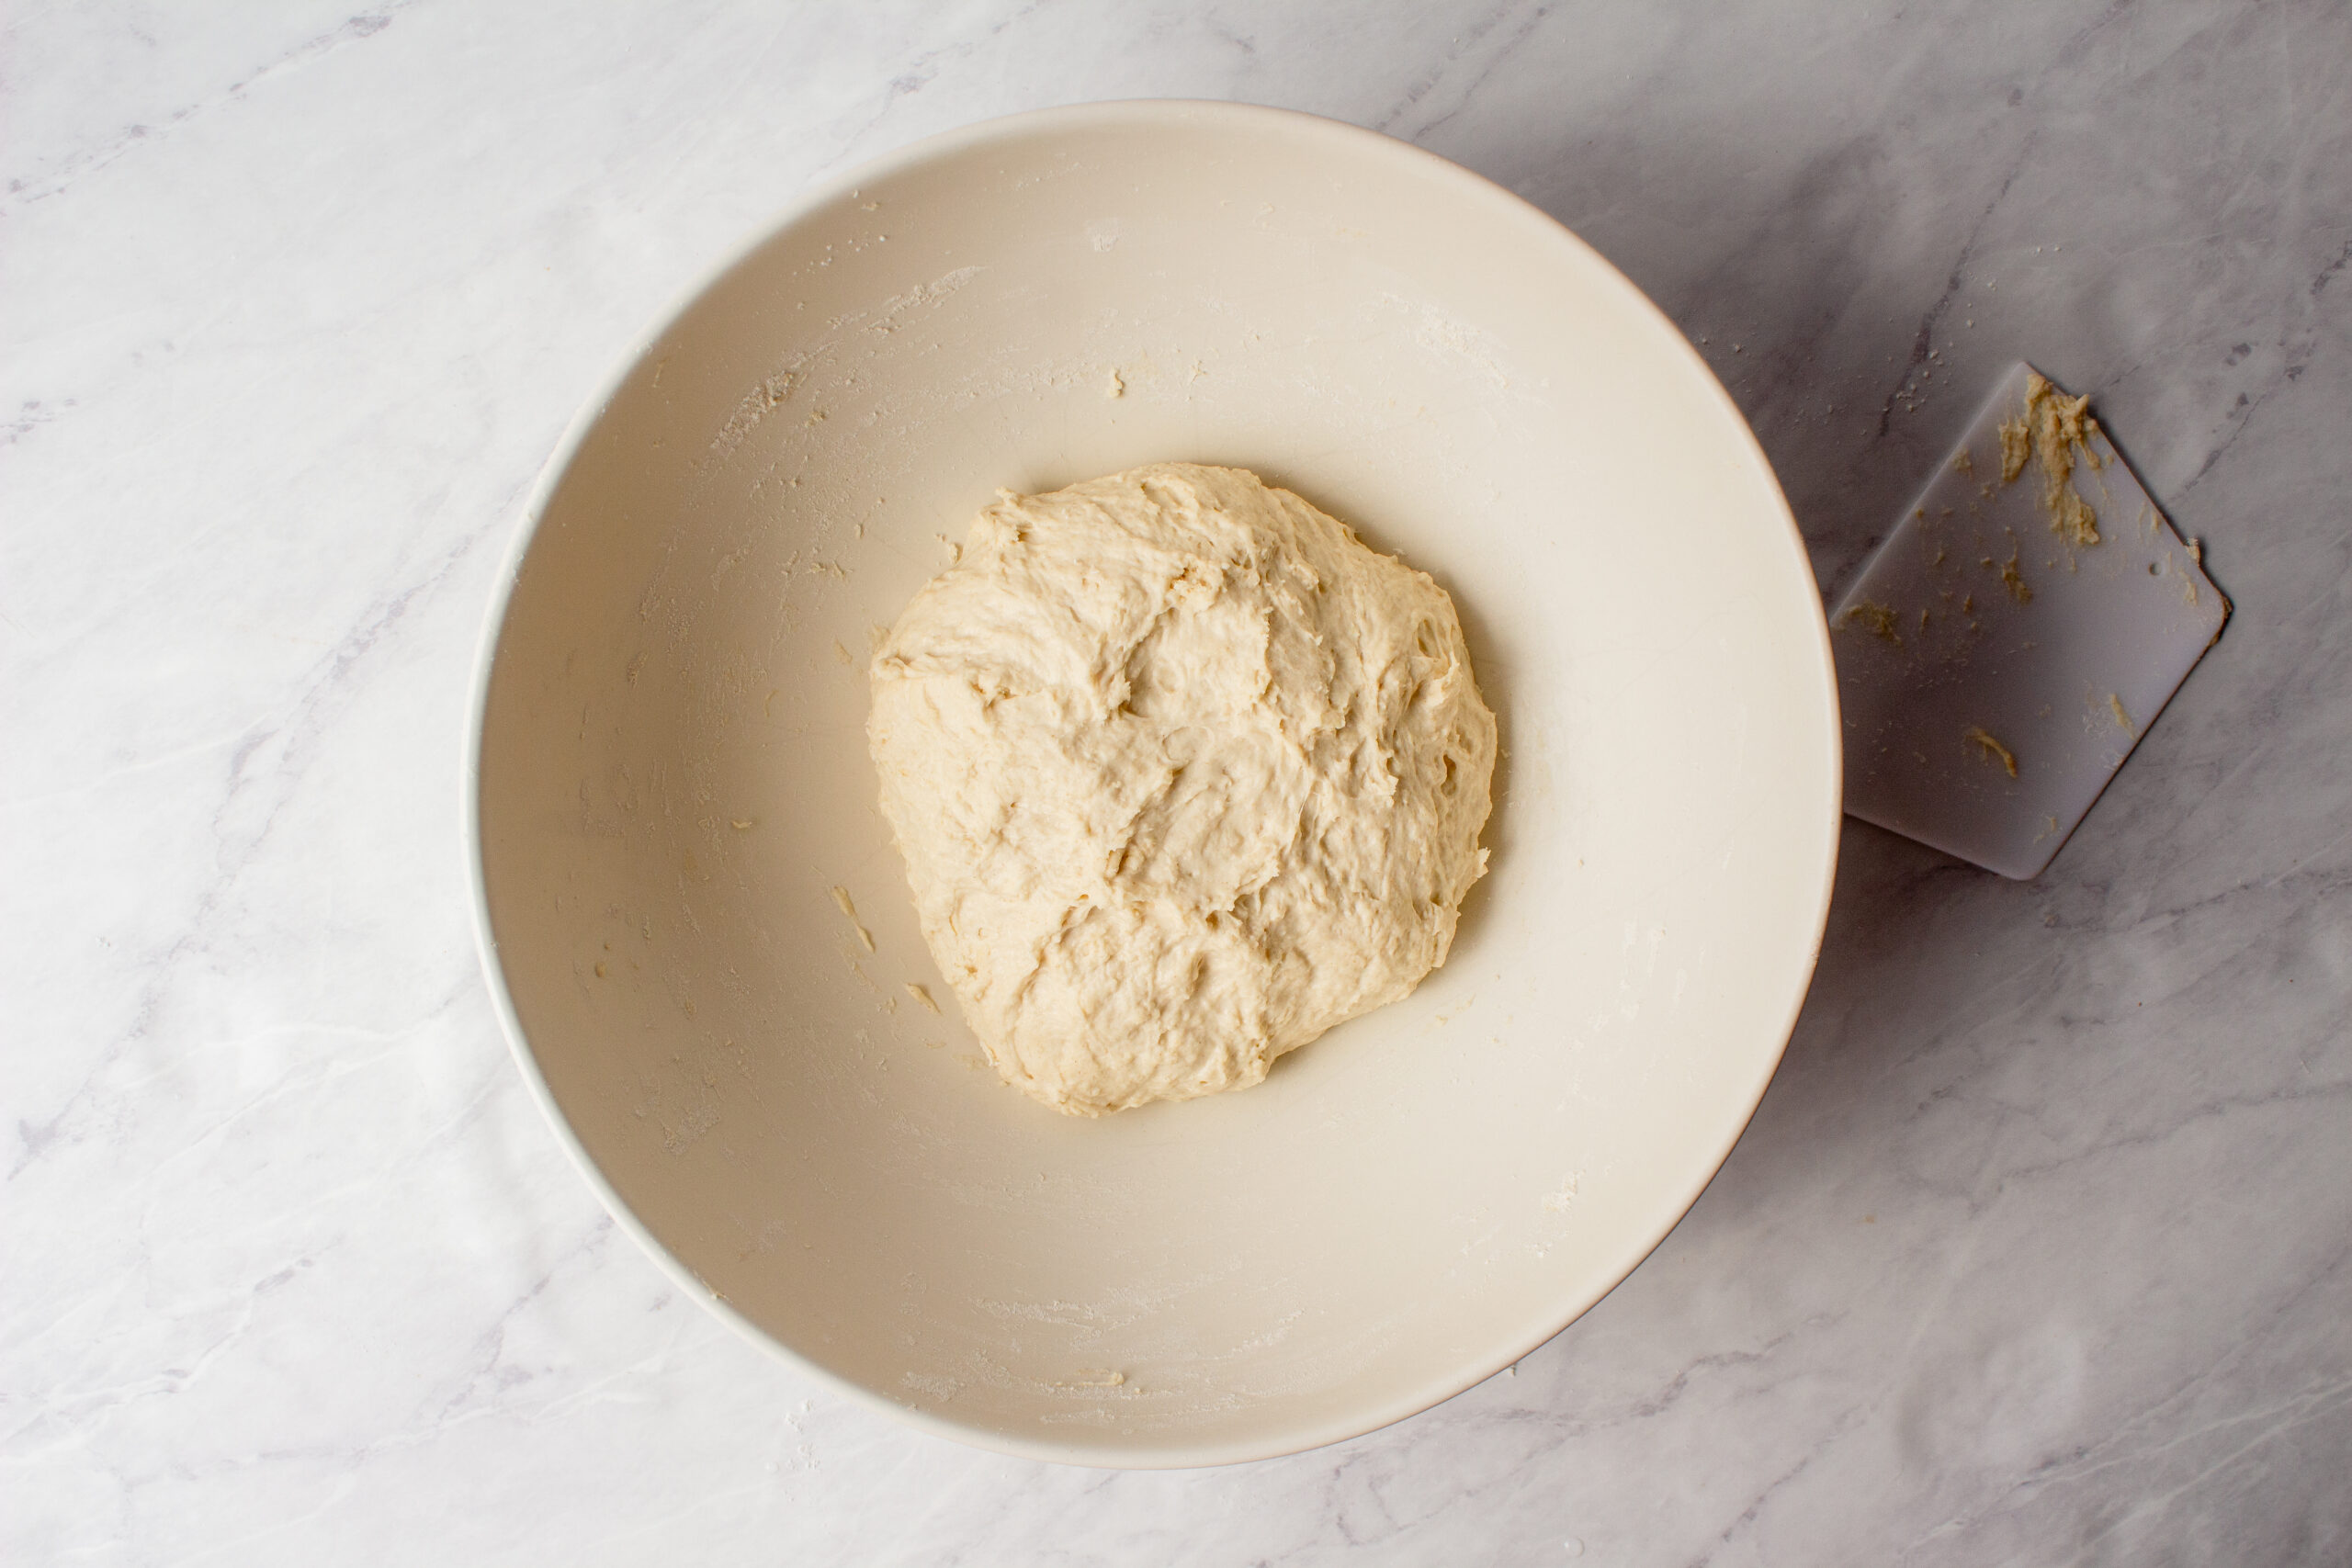
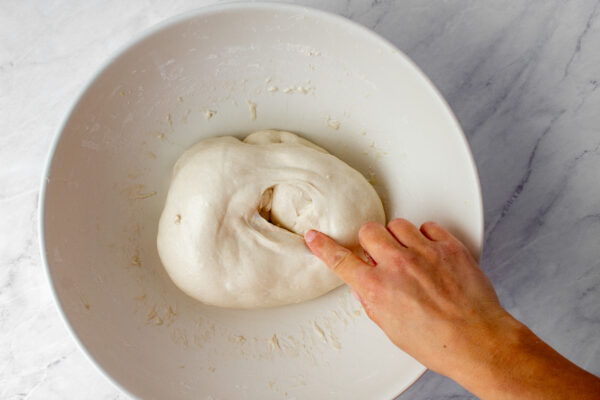
Coil Fold #1: Scoop under the center sides of the dough and gently lift the front end of the dough upwards. You will see it release from the bowl. Gently tuck the dough under itself and repeat the process on all sides of the dough ball. You will be left with a smooth tight ball. Cover and rest for 30 minutes. Place in a warm proofing area. Preferably 73-75°F. Note: I continue my coil fold until my hands are clean of dough after working with it and then move to bulk fermentation. This is usually after the sixth repetition.
After the last Coil Fold. Either transfer to a bulk fermentation container like this or keep the dough in your bowl ensuring it has enough room to grow.
Uncover and bake for an additional 15-20 minutes or until desired browning is reached and the dough temp is 209°F.
Thank you for exploring my recipes!